Do you want to install a water heater and don’t know how to get started? Relax! In this article, we will be briefing you on some simple steps that you can follow to make your water heater installation Ottawa process as easy as a cakewalk.
Electric water heaters can last for 10 years before they need replacement. So, if you find your water heater leaking before these years, you can fix it yourself and save some money for new purchases. With that, you must be thinking about how you can do such technical work without expertise. Well, it is not as difficult as you might think. Follow these steps below and you can do it quite easily.
Step 1
The first step is to unplug electric connections. Remove the plug from the circuit breaker panel, and check it with a voltage tester and make sure the unit is off.
Step 2
Before directly going for the water tank repair Ottawa, open a hot water faucet and let the water run until it becomes cold. Now, connect a hose to the valve, open it and drain the tank. This will allow the air to pass within the tank.
Step 3
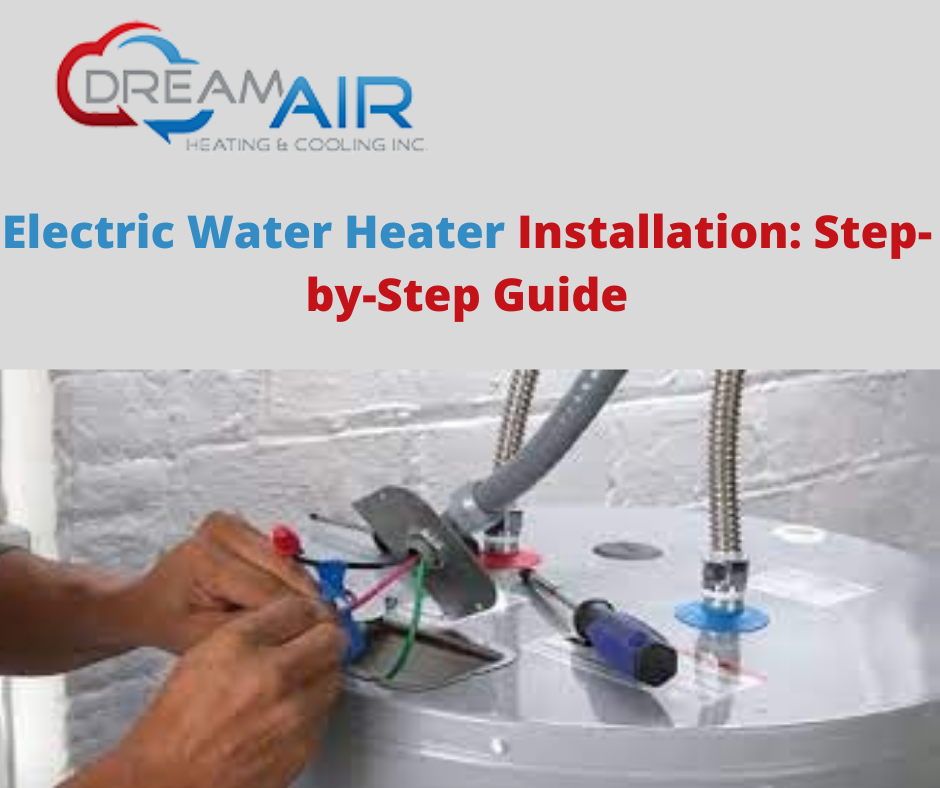
The third step is to disconnect all the electric wires over the water heater. Turn off the circuit breaker and then check the wires with a tester and then cap it off.
Step 4
Switch off the cold and hot water supplies. If your water heater has copper piping, then cut the pipes with a tubing cutter.
Step 5
Before you install a new one, remove the old water heater with a dolly. Once done, switch its place with the new tank. If possible, set it up into a drain pan. Now check whether the electric supply is reaching adequately to the tank. Check it again to ensure proper heating maintenance Ottawa.
Step 6
If your old water heater had copper piping and you had to cut it off for safety reasons, you now need to prepare more pipes using sandpaper cloth. Rub the sandpaper cloth on the pipe ends to make it shine like new.
Step 7
Now it’s time to attach the wires withs the screw. Remove the junction box lid and connect the ground wire to the green screw. Now take the other wires together and twist them together with wire connectors. Follow the same steps that you did while disconnecting the wires and once done, close the junction box cover. Be very careful with this step and if at any point, you do not feel confident, then call the professional to look after gas line installation Ottawa.
Step 8
Attach the hot supply lines to the hot water inlet and the cold supply lines to the cold water inlet. If your old water heater had copper piping, plumb it with copper only. Use flexible hoses for easy usage. Connect it with plumbers tape and dielectric connectors to reduce the corrosion between different materials. Now switch on the cold water supply.
Step 9
Connect the discharge pipe to the T&P valve. You need to use a 3/4″ male copper fitting to connect the two. Now paint pipe dope on the fitting. Clean the fitting at the pipe end. Now use a torch and a solder to connect the pipe.
Step 10
Once your water heater tank is full, turn on the power at the main power box. If the water heater is not working, then turn off the circuit before checking for the electrical connections.
Step 11
To remove the excess air in the tank, turn on the hot water tap and let it run for a while. It might take some hours for the water to become completely heated. Check for the T&P discharge pipe and if it’s leaking, the pressure can be too high.
Thus, these are the steps that you can follow for efficient electric water heater or furnace humidifier installation. If you don’t want to do it yourself, then call DreamAir Heating and Cooling Inc. at 613-558-4328, 613-762-3035 and schedule their service to get your work done.
« 5 Things to Do Now to Keep Away from a Furnace Repair Later